As you may or may not know, I have already tried and after some failures, successfully installed Azure Stack on Azure VM. Since that setup is nice in regards of giving access to other users and utilizing cloud, it is rather expensive and prone to many install and configuration failures.
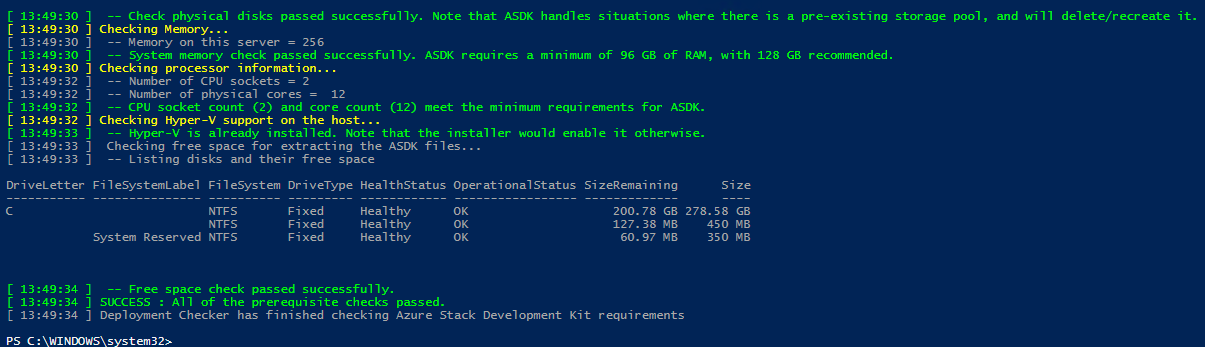
Just about when I successfully installed Azure Stack on Azure VM, internal IT manager called me and informed me that we have one Gen8 HP server that became available and could now be utilized for Azure Stack on “bare metal” installation. I was delighted. 😉 make sure your hardware meets these simple prerequisites . I highly recommend you to run this Power Shell script that will additionally check that your hardware is adequate for Azure Stack SDK.
Preparation
Server has two OS disk setup as mirror and additional five 900 GB disk that I had to setup as separate volumes. Also, I had at my disposal 2x 12 core Intel CPUs and 256 GB of RAM. Plenty of room to play with Azure Stack.
I immediately started with server preparation via iLO interface (which is simply fabulous tool) and came to my first obstacle. Disk controller lacked cache memory and was hence limited in creating of maximum two volumes per server. I asked my team lead to purchase cache memory (cca. 30€ per module) so I can proceed with installation. Two weeks later module was installed and setup was continued.
Before booting into cloudbuilder.vhdx and starting actual installation, make sure you have prepared Azure AD and know Azure AD global administrator username and password (I simply created new Azure AD in my existing Azure subscription). Also, select and test one NTP server IP address since this may lead to instant installation failure.
Instalation
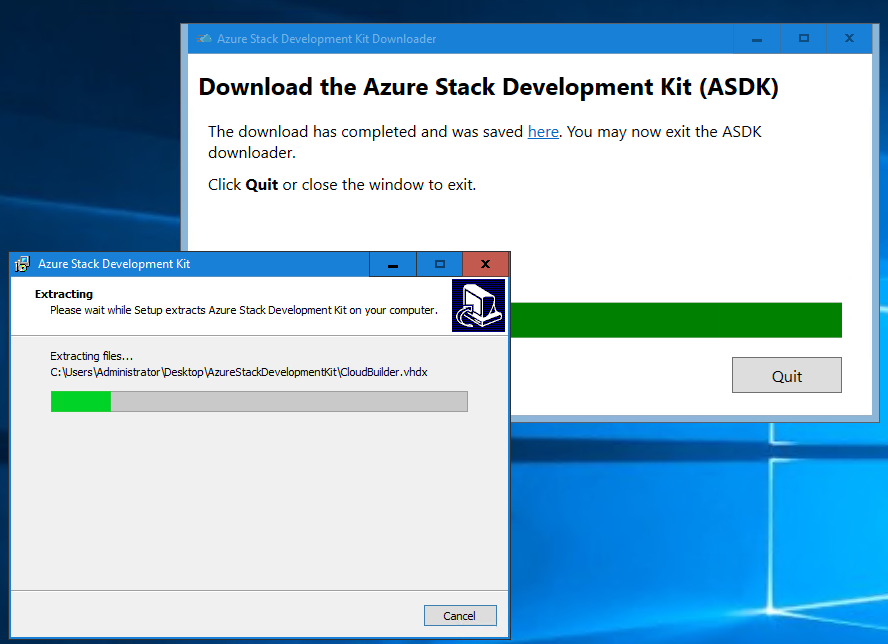
Download and extract required files.
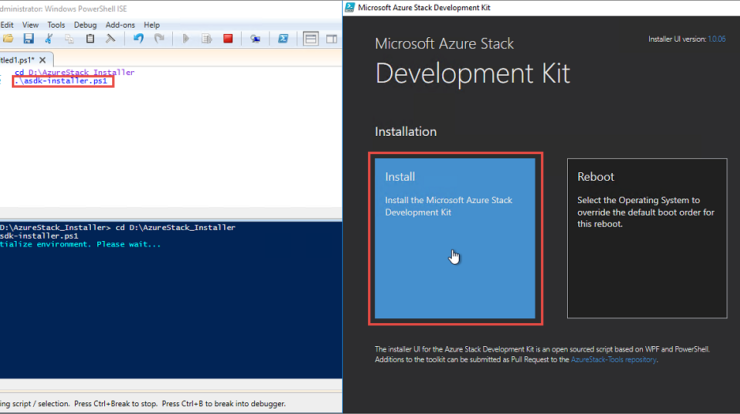
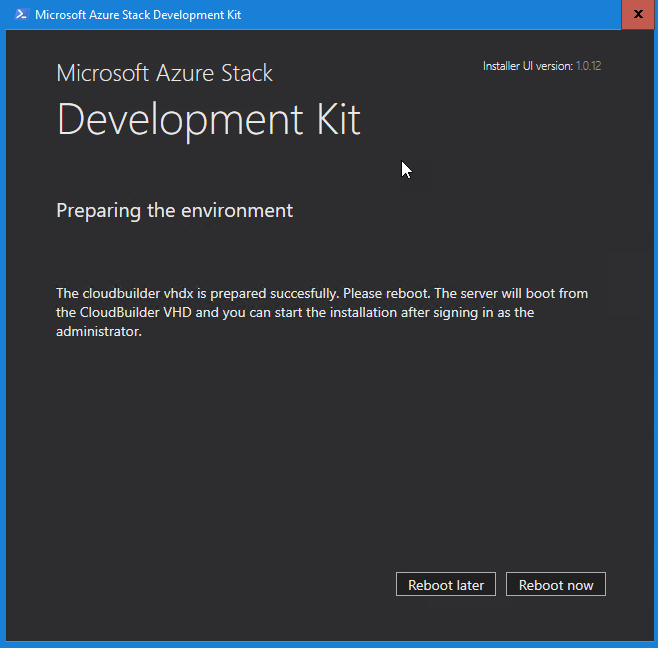
Start the installation process with following Power Shell commandlet
PS C:\AzureStack_Insaller> .\asdk-installer.ps1


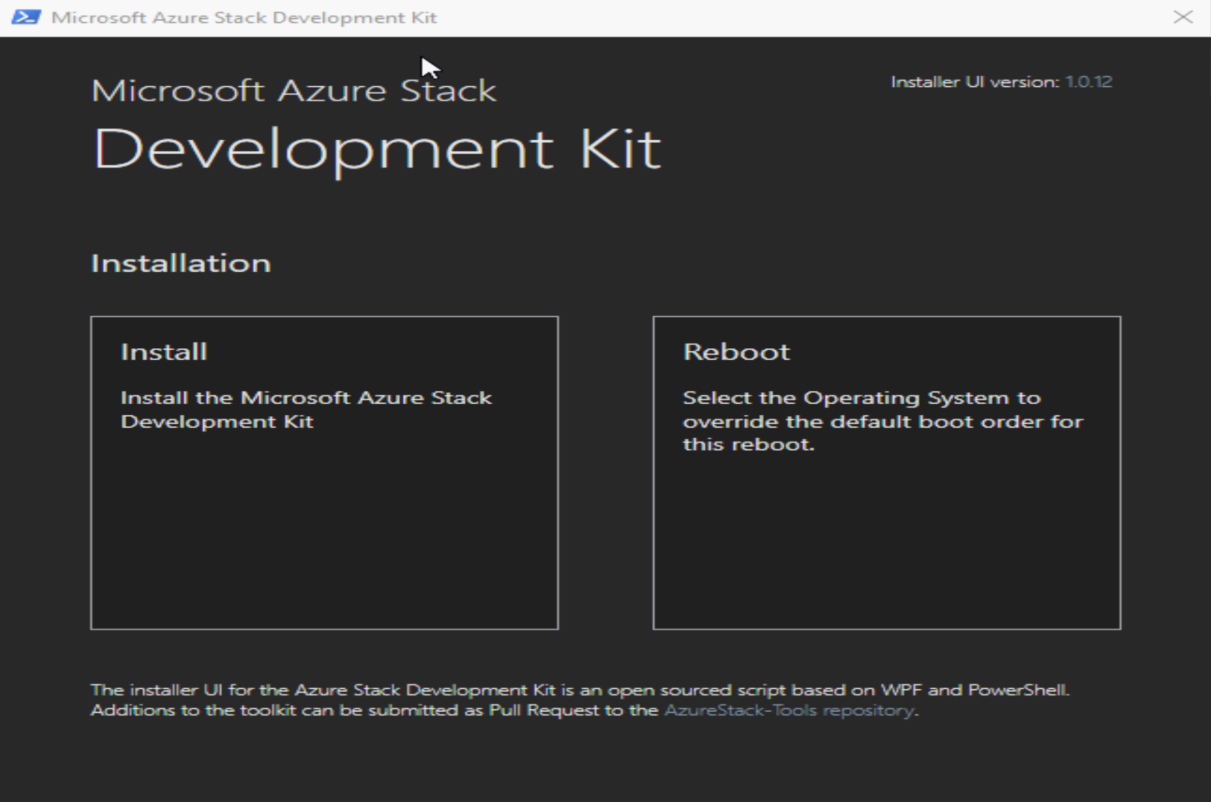
Start the installer again
PS C:\AzureStack_Insaller> .\asdk-installer.ps1

Select Identity provider type, enter AAD directory information and local admin password
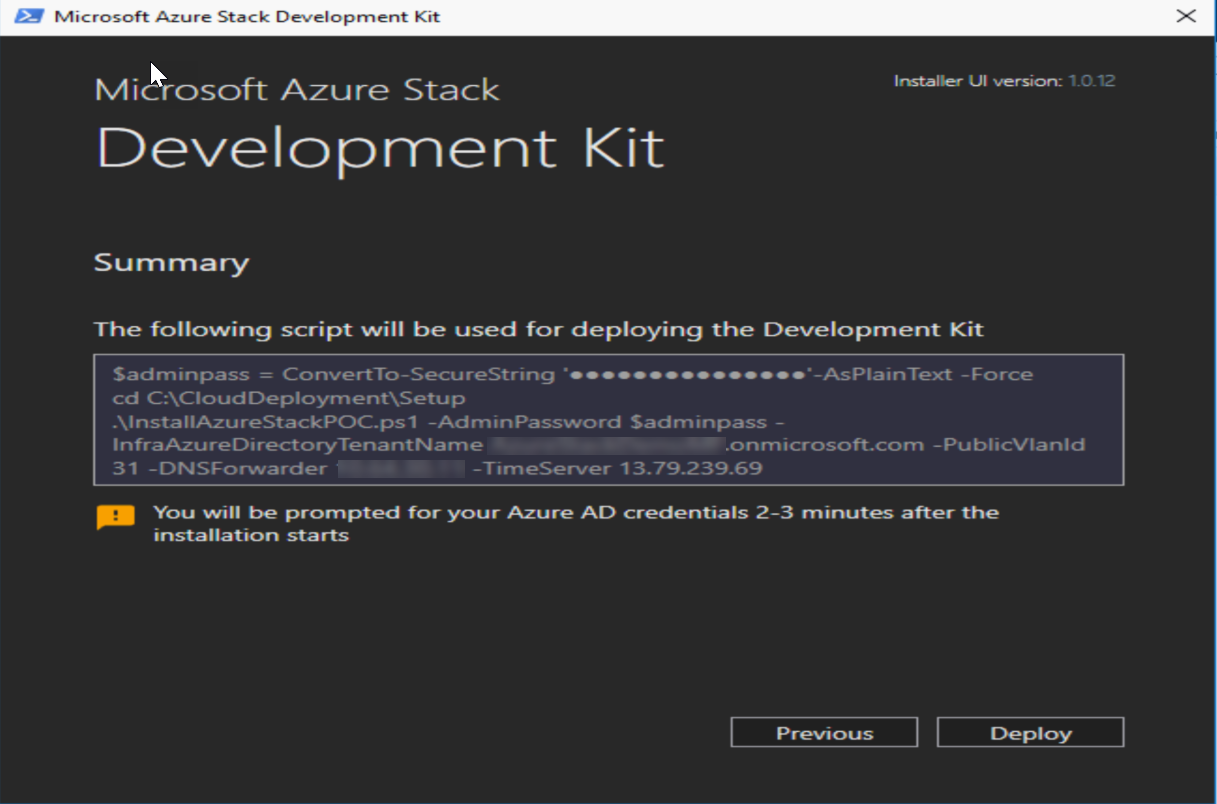
After these settings you will need to define network card that is to be used with Azure Stack, IP addressing scheme (static or DHCP ), valid time server and VLAN ID if you use it. These settings will be applied to BGPNAT01 virtual machine in your azure stack environment.
Note:
Make sure you select working IP address for NTP server and that you have either static IP address prepared or DHCP enabled in network. Failure to do so will result in failure of Azure Stack deployment. It is possible to rerun Azure Stack deployment after a failure just by running installation script again. Of course, make sure you rectify any errors before that. Since Azure Stack requires only one network card to be enabled on host, I disabled the wrong one so I had to restart the process. Also, first time around my selected time server was not responding so installation failed again.
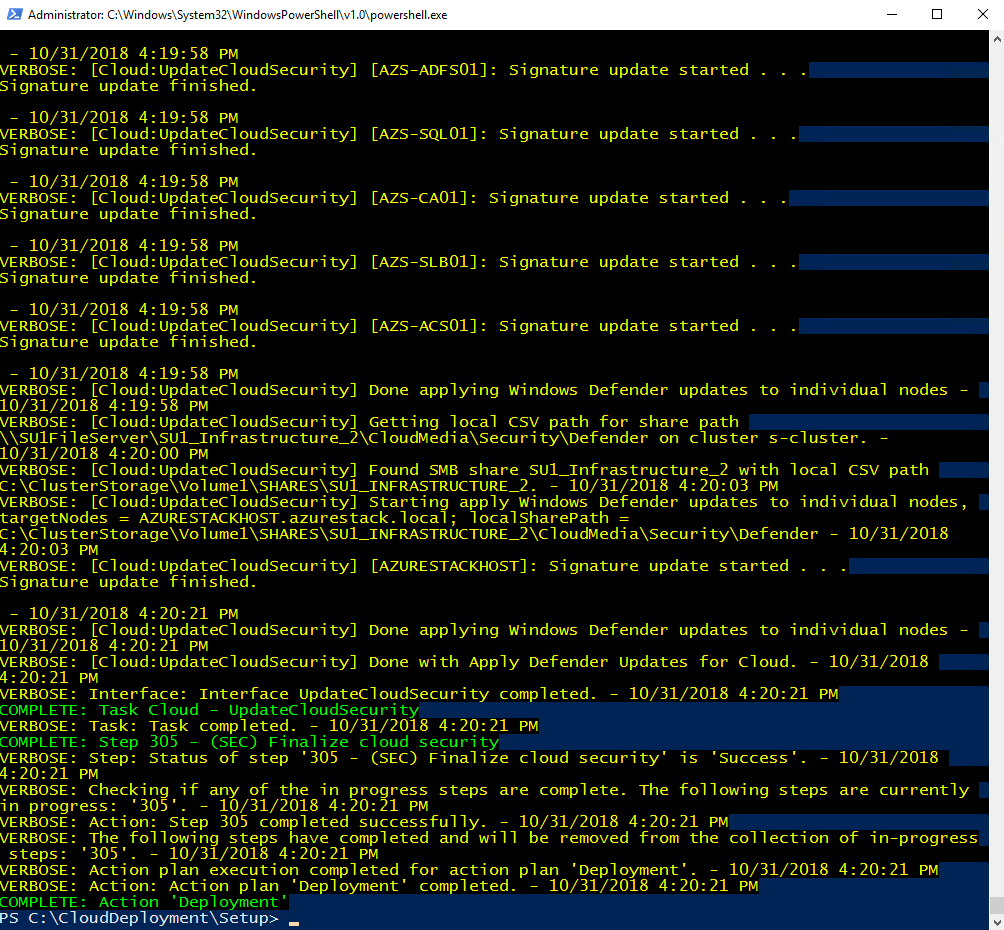
Deployment will take about 6 hours depending on hardware that you are using. At the end, if everything goes as planned, you should see screen similar to this one.
Post installation configuration
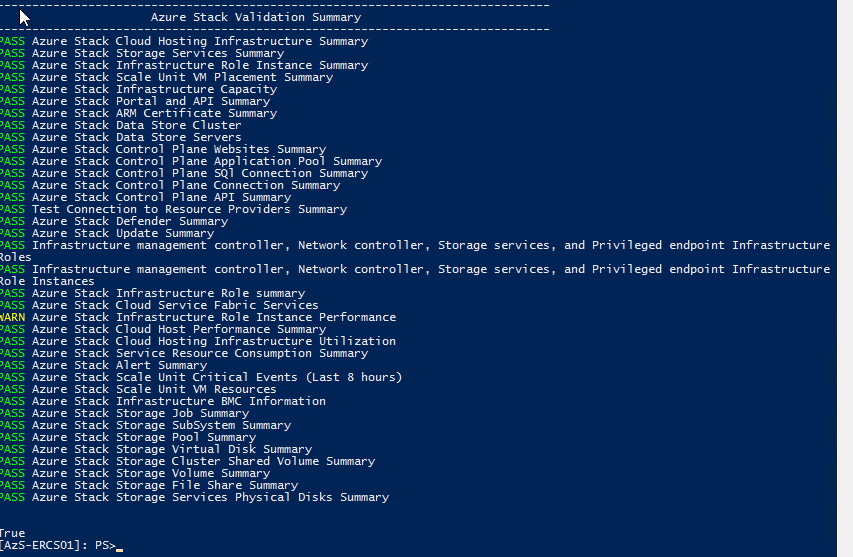
Most important post installation steps can be found on this Microsoft page. Make sure ti run Azure test Power Shell command to verify successful installation.
PS C:\>Enter-PSSession -ComputerName AzS-ERCS01 -ConfigurationName PrivilegedEndpoint
[AzS-ERCS01]: PS> Test-AzureStack
Output should look like this
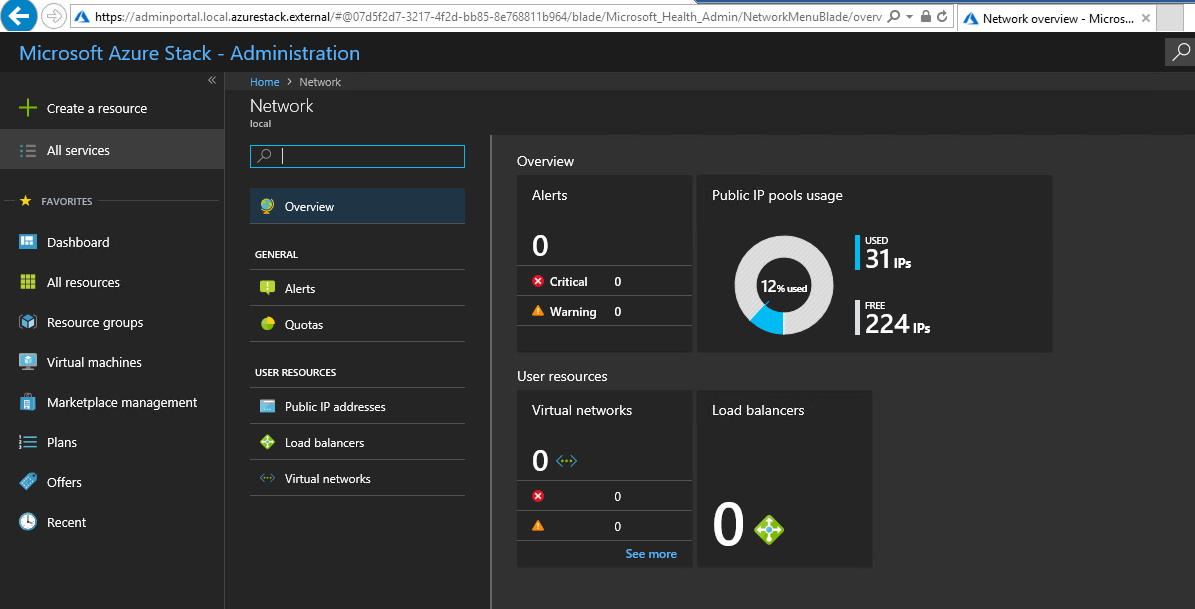
You should now be able to connect to your Azure Stack portal and login with administrative credentials, https://adminportal.local.azurestack.external.
Register your Azure Stack with Azure
Install required tools and uninstall all non required or conflicting tools from Azure Stack host environment. Follow instructions on this page to do so.
Then register Azure Stack by running this script:
# Add the Azure cloud subscription environment name.
# Supported environment names are AzureCloud, AzureChinaCloud or AzureUSGovernment depending which Azure subscription you are using.
Add-AzureRmAccount -EnvironmentName "AzureCloud"

# Register the Azure Stack resource provider in your Azure subscription
Register-AzureRmResourceProvider -ProviderNamespace Microsoft.AzureStack

#Import the registration module that was downloaded with the GitHub tools
Import-Module C:\AzureStack-Tools-master\Registration\RegisterWithAzure.psm1

#Register Azure Stack
$AzureContext = Get-AzureRmContext
$CloudAdminCred = Get-Credential -UserName AZURESTACK\CloudAdmin -Message "Enter the credentials to access the privileged endpoint."
$RegistrationName = "<unique-registration-name>"
$UsageReporting = $true # Set to $false if using the Capacity Billing model
Set-AzsRegistration `
-PrivilegedEndpointCredential $CloudAdminCred `
-PrivilegedEndpoint AzS-ERCS01 `
-BillingModel Development `
-RegistrationName $RegistrationName `
-UsageReportingEnabled:$UsageReporting
It will take up to 10 minutes to complete the registration process. At the end you should see result like this

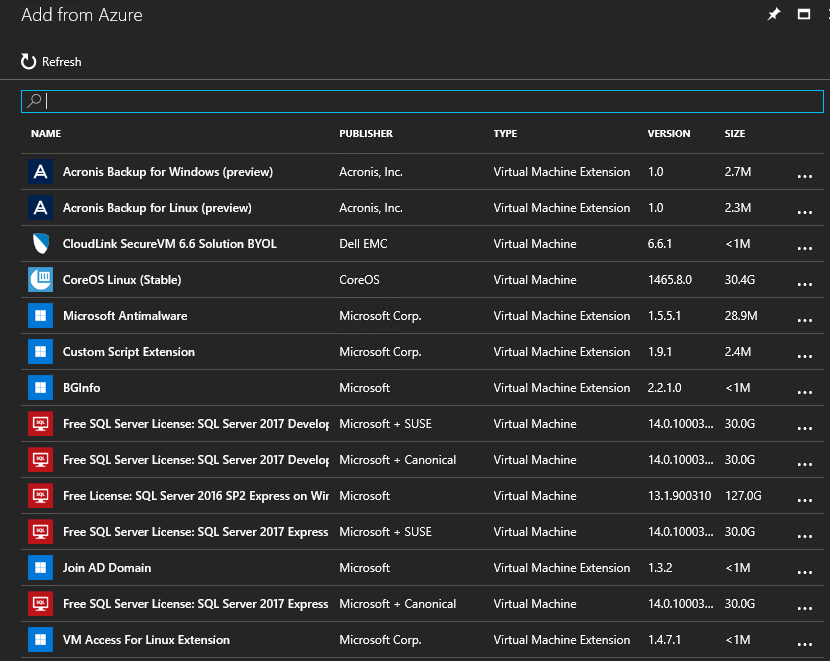
Verify that you can access Azure Marketplace by opening
https://adminportal.local.azurestack.external, select “Marketplace management” and then select “Add from Azure”. Now you should see some marketplace items like bellow
Final thoughts
Configuration and installation of Azure Stack SDK is pretty much straight forward if you plan in advance. Most errors are related to IP addressing scheme, network card setup and local or AD credentials.
In some future posts I will describe how to add additional resource providers such as MySQL, MS SQL and Application service providers.
At the end of this article please note that there is specific way how to turn off Azure Stack environment in case you want to do some maintenance on host itself.
PS C:\>$cred = Get-Credential
PS C:\>Enter-PSSession -ComputerName azs-ercs01 -ConfigurationName PrivilegedEndpoint -Credential $cred
PS C:\>Stop-AzureStack
This is going to take about 30 minutes since there are 15 VMs running in background. When Power Shell command completes Azure Stack shutdown of virtual machines it will shutdown Azure Stack host server.
To start it up again, just start Azure Stack host and wait about 30 minutes for everything to boot up in it.